

Tesla body controller issues cause flickering lights and buzzing sounds, requiring expert diagnosis. The Body Controller Unit (BCU) manages power distribution, so any malfunction can lead to inconsistent current flow. Early identification and repairs prevent further damage, ensuring smooth Tesla operation. This guide offers safety protocols and step-by-step instructions for DIY repairs or specialized collision services, focusing on Tesla body controller repair.
Are your Tesla’s lights flickering or emitting a buzzing sound? These issues could stem from problems with the vehicle’s body controller, a critical component in its electrical system. This article guides you through understanding and resolving these common Tesla body controller issues. We’ll teach you how to diagnose flickering lights and buzzing noises, then provide a comprehensive step-by-step repair guide to help you fix your Tesla safely and effectively, ensuring optimal performance and reliability.
- Understanding Tesla Body Controller Issues
- Diagnosing Flickering Lights and Buzzing Sounds
- Step-by-Step Repair Guide for Your Tesla
Understanding Tesla Body Controller Issues
Tesla Body Controller Issues are a common concern among electric vehicle owners, often presenting as flickering lights or annoying buzzing sounds. These problems can be frustrating and may indicate underlying issues with the vehicle’s electrical system, particularly the body controller—a critical component responsible for managing power distribution throughout the car. Over time, wear and tear, exposure to extreme temperatures, or a combination of both can contribute to the degradation of this sophisticated hardware.
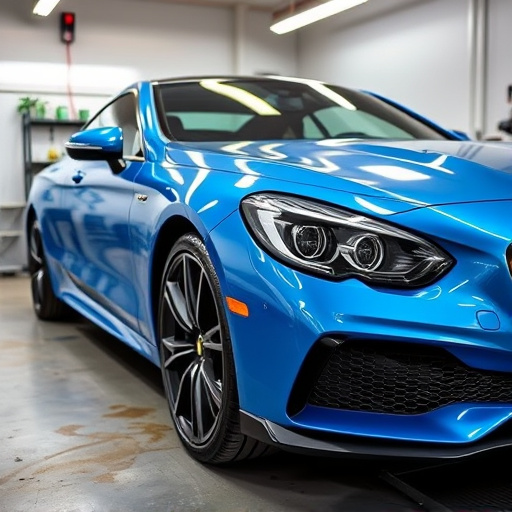
When addressing Tesla body controller repair, it’s essential to approach it with expertise. Classic car restoration experts or specialized collision repair services equipped with the right tools and diagnostic capabilities can identify specific issues like faulty connections, damaged circuitry, or software glitches that may be causing these symptoms. A vehicle body shop with experience in electric vehicles ensures accurate troubleshooting and efficient repairs, bringing peace of mind to Tesla owners and restoring their quiet, smooth rides.
Diagnosing Flickering Lights and Buzzing Sounds
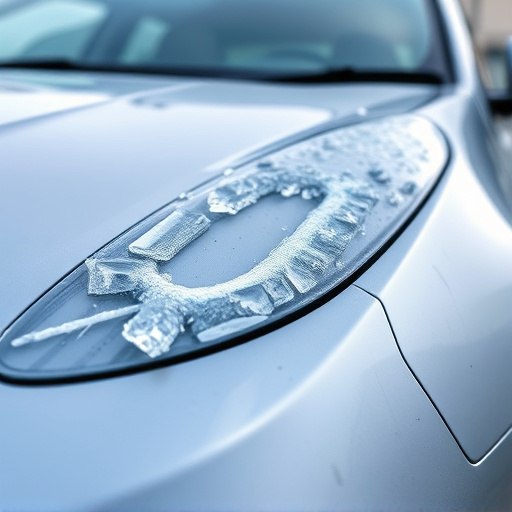
If your Tesla is experiencing flickering lights or annoying buzzing sounds, it’s crucial to pinpoint the source for effective Tesla body controller repair. The first step involves a thorough inspection of the vehicle’s electrical system, focusing on the body controller unit (BCU). This component plays a vital role in managing power distribution throughout the car. Any malfunction can lead to inconsistent current flow, resulting in intermittent lighting and unusual noises.
During diagnosis, pay close attention to signs like loose connections, damaged wires, or compromised components within the BCU. In some cases, a simple repair might involve replacing faulty connectors or recalibrating sensors. However, more complex issues may require a visit to a specialized collision repair center for comprehensive car body restoration. Identifying and addressing these problems early is essential to prevent further damage and ensure your Tesla operates smoothly and safely.
Step-by-Step Repair Guide for Your Tesla
Performing a Tesla body controller repair can be a straightforward process for those with some mechanical aptitude. Here’s a step-by-step guide tailored to addressing flickering lights or buzzing noises, common issues often traced back to the vehicle’s body controller.
1. Safety First: Begin by ensuring your Tesla is parked on a level surface and engage Park mode. Discharge any residual electrical charge in the system by turning off all accessories and allowing the vehicle to rest for several minutes. This safety measure is crucial for preventing accidents during the repair process.
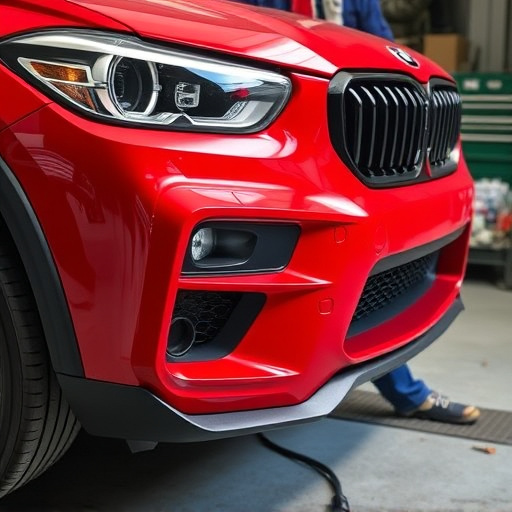
2. Locate the Body Controller: The Tesla body controller, a vital component, manages various functions, including exterior lighting and bumper sensors. It’s typically located under the hood or in the trunk, depending on your Tesla model. Refer to your vehicle’s manual or consult an expert if you’re unsure about its exact position.
3. Inspect and Clean: Visually inspect the controller for any signs of damage, corrosion, or loose connections. Corrosion can cause intermittent issues, so cleaning the contacts with a wire brush or specialized cleaner may help. Ensure all components are securely fastened.
4. Test Connections: Before replacing or tightening connections, test them to isolate the problem. Use a multimeter to check for continuity and voltage across each connection. This step is crucial in identifying faulty wires.
5. Replace or Repair: If issues persist, a replacement controller might be necessary. However, if damage is limited to specific components (e.g., a loose wire), repairing them can be more cost-effective than a full replacement. For minor problems like a damaged bumper sensor, an auto body repair specialist can often fix it without replacing the entire controller.
Troubleshooting and repairing your Tesla’s body controller issues can be a complex task, but with the right knowledge and step-by-step guide, it’s achievable. By understanding common problems like flickering lights and buzzing sounds, you’re well on your way to ensuring your Tesla functions optimally. The provided repair guide offers a practical solution for DIY enthusiasts, empowering them to tackle these issues effectively. Remember, when dealing with electrical components, safety is paramount. So, if you’re unsure, always consult a professional mechanic for expert assistance regarding Tesla body controller repair.